
It’ll come as no surprise to those that know me, that baking bread is something I love to do. Whilst you can certainly bake a good loaf in your oven at home, baking your bread over a campfire is something really special. For me, it’s the process that brings such joy: The gathering of firewood and kindling, and the lighting of the fire, that brings the expectation of the bread to be eaten.
Foraged sweet chestnuts
With such a hoard of sweet chestnuts, and some nice big ones to boot, I needed to do something with these lovely, sweet and tasty nuts. Ah ha I thought, how about a sweet chestnut loaf! The best ideas come when sitting by a campfire – that’s for sure!
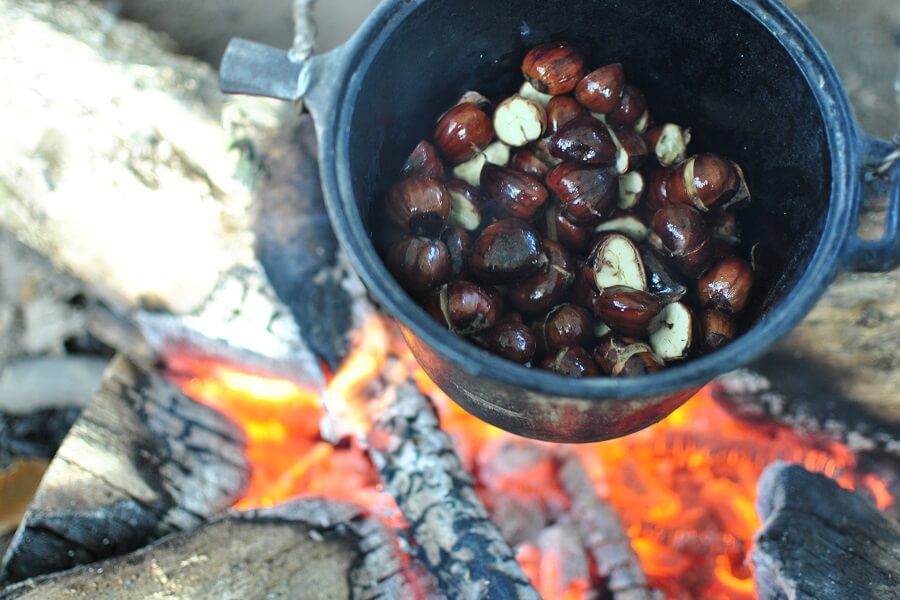
The first task was to roast those chestnuts – you need to make a small cut into the shell to avoid them exploding. Yes, they really do explode! When roasting some recently, one escaped being slit and exploded with an almighty bang. Because, it’s a little late for foraging chestnuts, I wanted to ensure they were all good to eat and no dodgy ones would spoil the bake. So, I halved all the chestnuts and chucked out any that didn’t past muster.
The roasting was done in a small cast-iron pot, it has a lid, which was used. A little olive oil was poured into the warmed pot, the nuts added and stirred to coat them in the oil. Then a little hot water from the kettle was poured in and the pot sealed with the lid. I roasted them for about 20 minutes and then, well, I just had to taste a few!
Bread making and baking…
I warmed some water for the yeast and mixed up a classic-loaf with strong bread flour, a little salt and that yeast once it had frothed nicely. I used a spoonful of sugar and a pinch of flour to feed the yeast. With the dough well mixed, those sweet chestnuts were added and rolled in with a glug or two of olive oil.
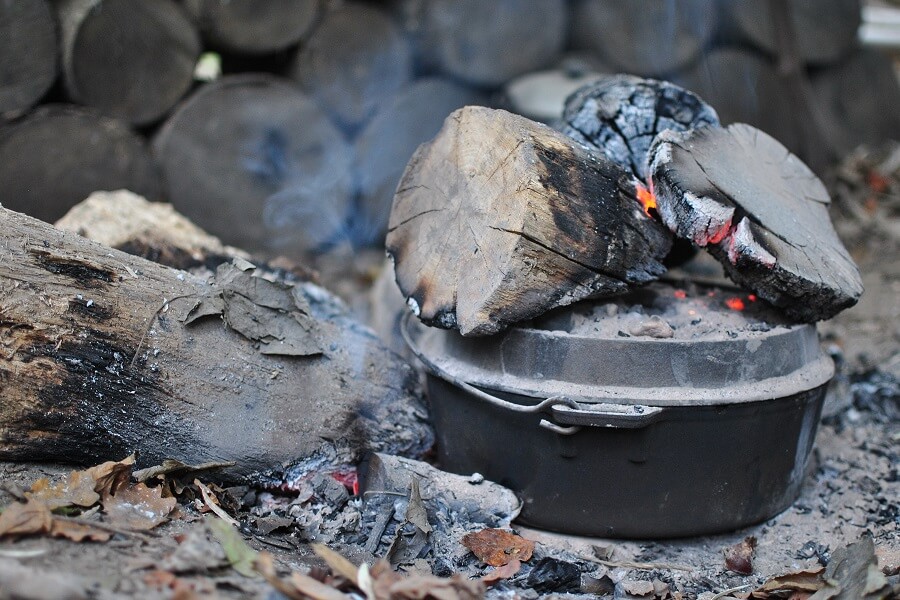
The well-kneaded dough was put in the warmed Dutch oven to prove. I tend to keep it suspended above the campfire, at a height that means it will keep warm but not start to bake. 30 minutes later – I check, it’s risen nicely, I knock it back and we go again. After the second prove it’s time to bake – the oven used is a Petromax. The oven is lowered and embers put on the top to bake the bread. Dutch ovens have a rim around the lid to stop the embers falling off!
On the first check, the loaf was pale and under baked. It had been baking for 25 minutes, which with a hot oven would be fine, but today the weather was very cold, so back in it went. This time the oven was placed directly on the embers and the ember-glowing log-ends placed on top. Care is needed doing this, because with the intensity of the heat there is a possibility of over-baking and burning the bread.
The reveal was 20 minutes later, with a nicely browned loaf. Tapping the bottom provided a reassuring hollowness and confirmation that the sweet chestnut loaf was baked and ready to eat!
David’s top tip for baking with a Dutch oven
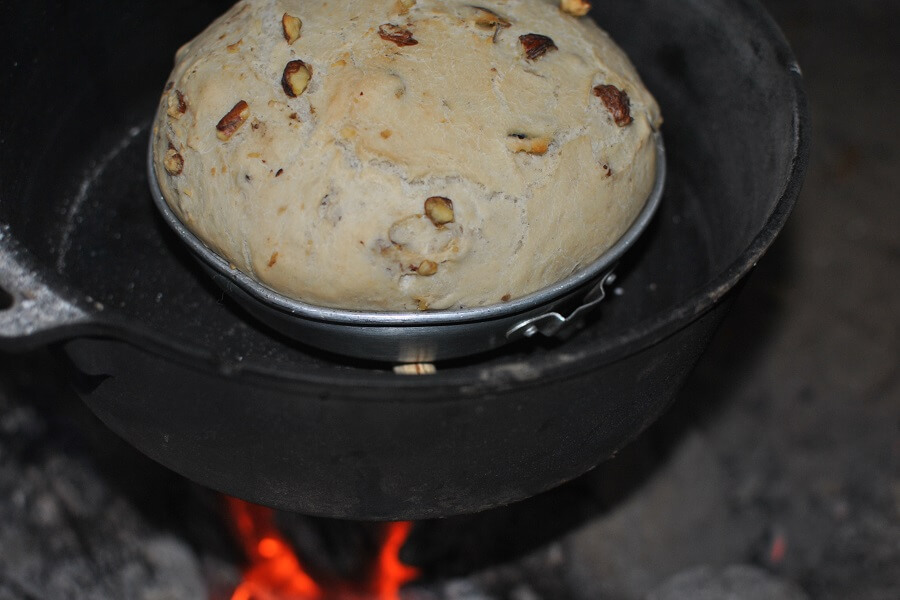
Dutch ovens are fab for campfire cooking. The cast iron dissipates the heat throughout the pan, but there is still a possibility of the bottom getting to hot and burning the contents. For baking, place the dough in a separate pan inside the Dutch oven, supporting it on a few green sticks or stones. This will raise the dough up from the bottom of the oven, allowing hot air to circulate (as it would in a conventional oven), and provide a more even bake without burning its bottom!
During the winter months baking will most likely take a little longer due to the colder weather – but don’t let that stop you, your fresh bread will still taste great – Happy Baking!
Oh yes, the folks I shared that sweet chestnut loaf with, thought it tasted rather good. Join me on a Campfire Bread Baking course and have fun baking and eating a variety of tasty breads.