
Preparing a roast dinner for friends is always something special. It’s great to gather a group together in the woods, all sitting around the campfire with plates full of roasted meat and vegetables. Here, David, explains how to cook a roast dinner in a ground oven or oven hangi, along with cooking tips and guidance to make it a tasty success!
Meat and Vegetables
One of the beauties of simply slamming pretty much everything in a ground oven, is that once it’s all done, you simply wander off, leaving it to cook while you do something else! But some thought is required to ensure that when you dig out dinner it’s all cooked and not charred! Here goes…
So, when thinking about the meat and vegetables you would like to roast, it’s best to consider cooking durations, how long will each item take to cook and use these to guide your choices. The idea here is to select meat and vegetables that can be cooked at the same temperature and for the same duration e.g. one hour.
Firstly, the meat, a joint of beef, lamb, or venison all work well. Mostly, I get meat from the local farm shops and game dealers, if you can, it’s good to know the providence of what you’re going to eat. If you don’t have any nearby, then simply see what is on offer at the supermarket!
How much meat? Aim for 1/4lb per head (125g), but you might want a little more, and select a joint of meat that is around 3lb (1400g) in weight. If you need a larger amount of meat, then that’s fine, but for cooking, you ideally want it divided up into 3lb hunks.
My favourite cuts of meat include: Beef silverside joint or top rump joint, Lamb shoulder or a leg of venison. When on the bone, remember to take this into account to ensure you have sufficient meat for both your friends and you.
Roasting meat takes around 20 minutes per pound, a little less perhaps if you like it rare, but all timings will depend on the heat of the oven too. So, with a hot oven, that 3lb hunk of meat will take approximately 1 hour to roast. Yes, you could go for a larger piece of meat and cook for longer, but we have vegetables to consider too.
Choose root vegetables that will happily roast for the same amount of time your meat will be roasting, after all they will be cooking alongside each other! An hour for roasting root vegetables will usually be fine, but any longer and you are likely to end up with charred-vegetables. Yes, that’s why I have chosen a 3lb hunk of meat which will take an hour to roast!
My favourite vegetables for roasting are Sweet Potatoes and Beetroot, but obviously you may wish to add some spuds (potatoes), and perhaps some parsnips. I usually also add some Red Onions and Garlic Bulbs too.
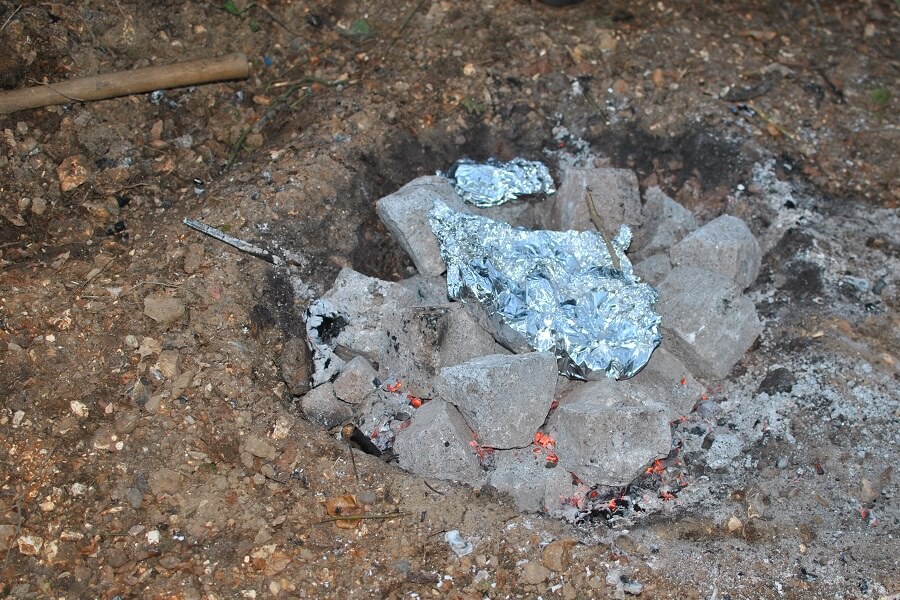
Having selected all your meat and vegetables, it’s time for some simple preparations. Season the meat, perhaps add some garlic and herbs and then wrap in something to keep them clean and avoid contamination with soil and stone. Depending on the time of year, gather greenery from the woods and wrap your ingredients with these. The leaves of sedge, when woven make an excellent covering, or perhaps use large burdock leaves, tied neatly with stinging nettle cordage. And if you can’t, then you may have to resort to using kitchen foil.
Next, having washed the vegetables, wrap them too, it’s easiest to gather a few and wrap them together. If the wrapped food parcels are too small there is a danger of losing them in the bottom of the oven!
The Ground Oven
As the name implies, this is an oven, that has been dug into the ground, a hole big enough to contain hot rocks and the meat and vegetables to be roasted. The hole is sealed leaving the hot rocks to radiate heat and roast the meat and vegetables.
Having dug a hole, a fire is made to heat the rocks. Once the rocks are hot enough, the meat and vegetables are put into the hole, poles laid across the hole, and covered with sacking and then buried using the earth from the hole. Given sufficient time for the roast to cook, you dig up dinner and eat – it really is that simple!
Select an area for your ground oven, identify a space in the woods where you can dig a hole approximately 2 feet wide (300mm) and long and 1 – 1½ feet (300mm – 450mm) deep. Obviously, ensure that any fire you have in the space selected will not endanger the environment, so not in pine forests where a fire could easily spread underground, or amongst tree roots which may burn though to the trees.
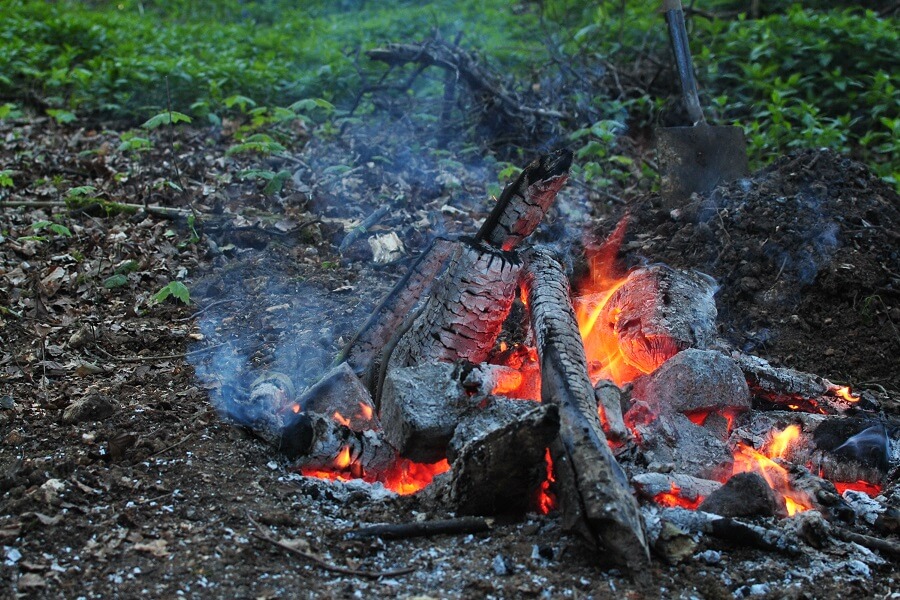
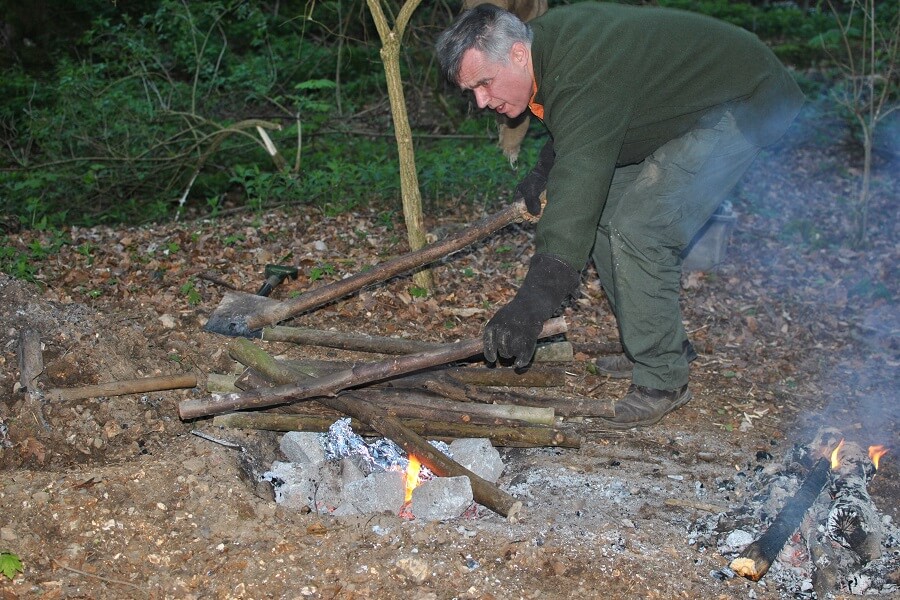
Gather lots of dry timber, I use 30 – 40 feet (10m+), preferably branches that are 4-6 inches in diameter (100mm – 150mm). Light a fire in your hole and stoke it, so it gets very hot using the timber you have collected.
Rocks and Stones
You will need some igneous rocks, e.g. granite, at least nine large rocks to line the whole. You can use other rocks, but do ensure you are using rocks that will not explode when heated. So, do not use flint which will explode when it gets hot, showering shards of stone off in all directions. I live in the Chilterns renowned for its flint, so I usually get a supply of cobblestones from a nearby builder’s merchants.
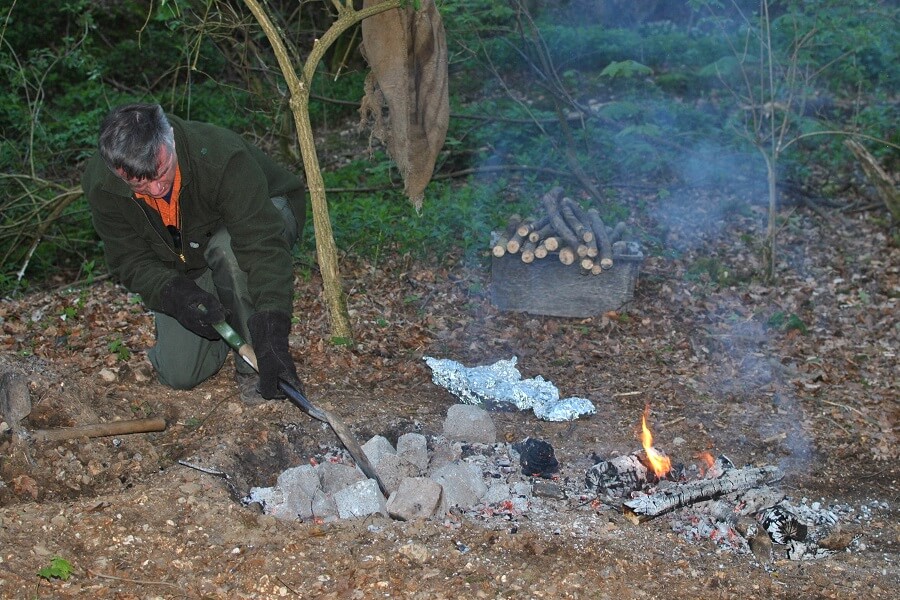
Carefully place the rocks onto the fire – I’d recommend using fire-proof gauntlets, you are going to be working with a very hot fire. The rocks need to be left to get very hot, at least an hour, so they can sustain a heat of 180°C in the oven for at an hour.
Slam it in the Oven
As the fire burns down and the rocks fall into the hole and assuming they are hot enough (the granite cobblestone will glisten with red and white hots sparkles in the rock), carefully remove any remaining burning timber, to leave a hole full of hot rocks. Place your food parcels of meat and vegetable into the hole on top of the rocks.
Having cut many green poles, sufficient and long enough to cover the hole – place these poles over the hole, cover with a piece of sacking (e.g. hessian), to prevent soil falling in, and bury the dinner. Pile all the soil dug from the hole on top of the sacking and pat it down. Have at least 6 inches (150mm) depth of soil covering the hole and ensure that no heat / smoke is escaping. This part of the operation needs to be done quickly, so as not to lose too much heat from the hole.
How you light your campfire is up to you – but what you will want is a hot fire that generates a good deal of heat, at least 200°C. To judge when the fire is hot enough, use the back of your hand to feel the temperature. To get an idea of what 200°C feels like, when using a conventional oven at home, turn it up to this temperature and place your hand in the oven for a moment or two, obviously do this carefully!
The Great Reveal
When your roast dinner is cooked, yes, you’ve spotted that you can’t open the door to check. It’s time to dig up your roast dinner and enjoy it with your friends. Remove the soil, and as you do you’ll start to smell your dinner, carefully pull back the sacking, remove the polls and lift out dinner!

Here’s to wishing you great success with your ground oven roast dinner. Obviously, ensure you have everything prepared, your timber gathered (lots of branches), green wood poles cut, a piece of hessian sacking, rocks ready for heating and your meat and vegetables wrapped, and you are all set. And above all, make sure your fire is at least 200°C before you start roasting, once it’s buried it’s buried. Enjoy!